
For this assignment we will be working with halftones, identity, and prints! The goal is to end up with four monochrome halftone prints that we will investigate in class.
- Write a paragraph description of your alter ego. What are their personality traits? What do they usually wear? What is their favorite food / restaurant? What is their most prized possession?
- Set up a still life of your alter ego paying close attention to good design within the composition. Be sure to include yourself in the composition.
- Have someone take a picture of the scene, or use a tripod and timer.
- Open your photo in Photoshop.
- Crop / resize your image so that it is 8.5″ x 11″ at 150ppi.
- Convert your image to CMYK colorspace. Go to Image > Mode > CMYK color
Note the slight change in color go back and forth between modes to see the change again. Not all colors possible with RGB are reproducible with CMYK, and vice versa. - Got to Window > Channels and experiment with turning the visibility of the channels on and off. Can you figure out what they are doing?
- In the Channels window select a channel (C, M, or Y) by clicking on the channel name (the channel must be visible – have the eye icon next to it).
- After selecting the channel hold the Shift key and select the channel for black. You should now have 2 channels selected.
- Go to Select > All, Go to Edit > Copy, Go to File > New
- In the new window Go to Edit > Paste. You should now have a copy of your image with only one colored layer and a black layer.
- Delete the content of the black channel by clicking the name of the channel. Go to Select > All and then press the Delete Key on your keyboard. You should now have a copy of your image with only one channel visible.
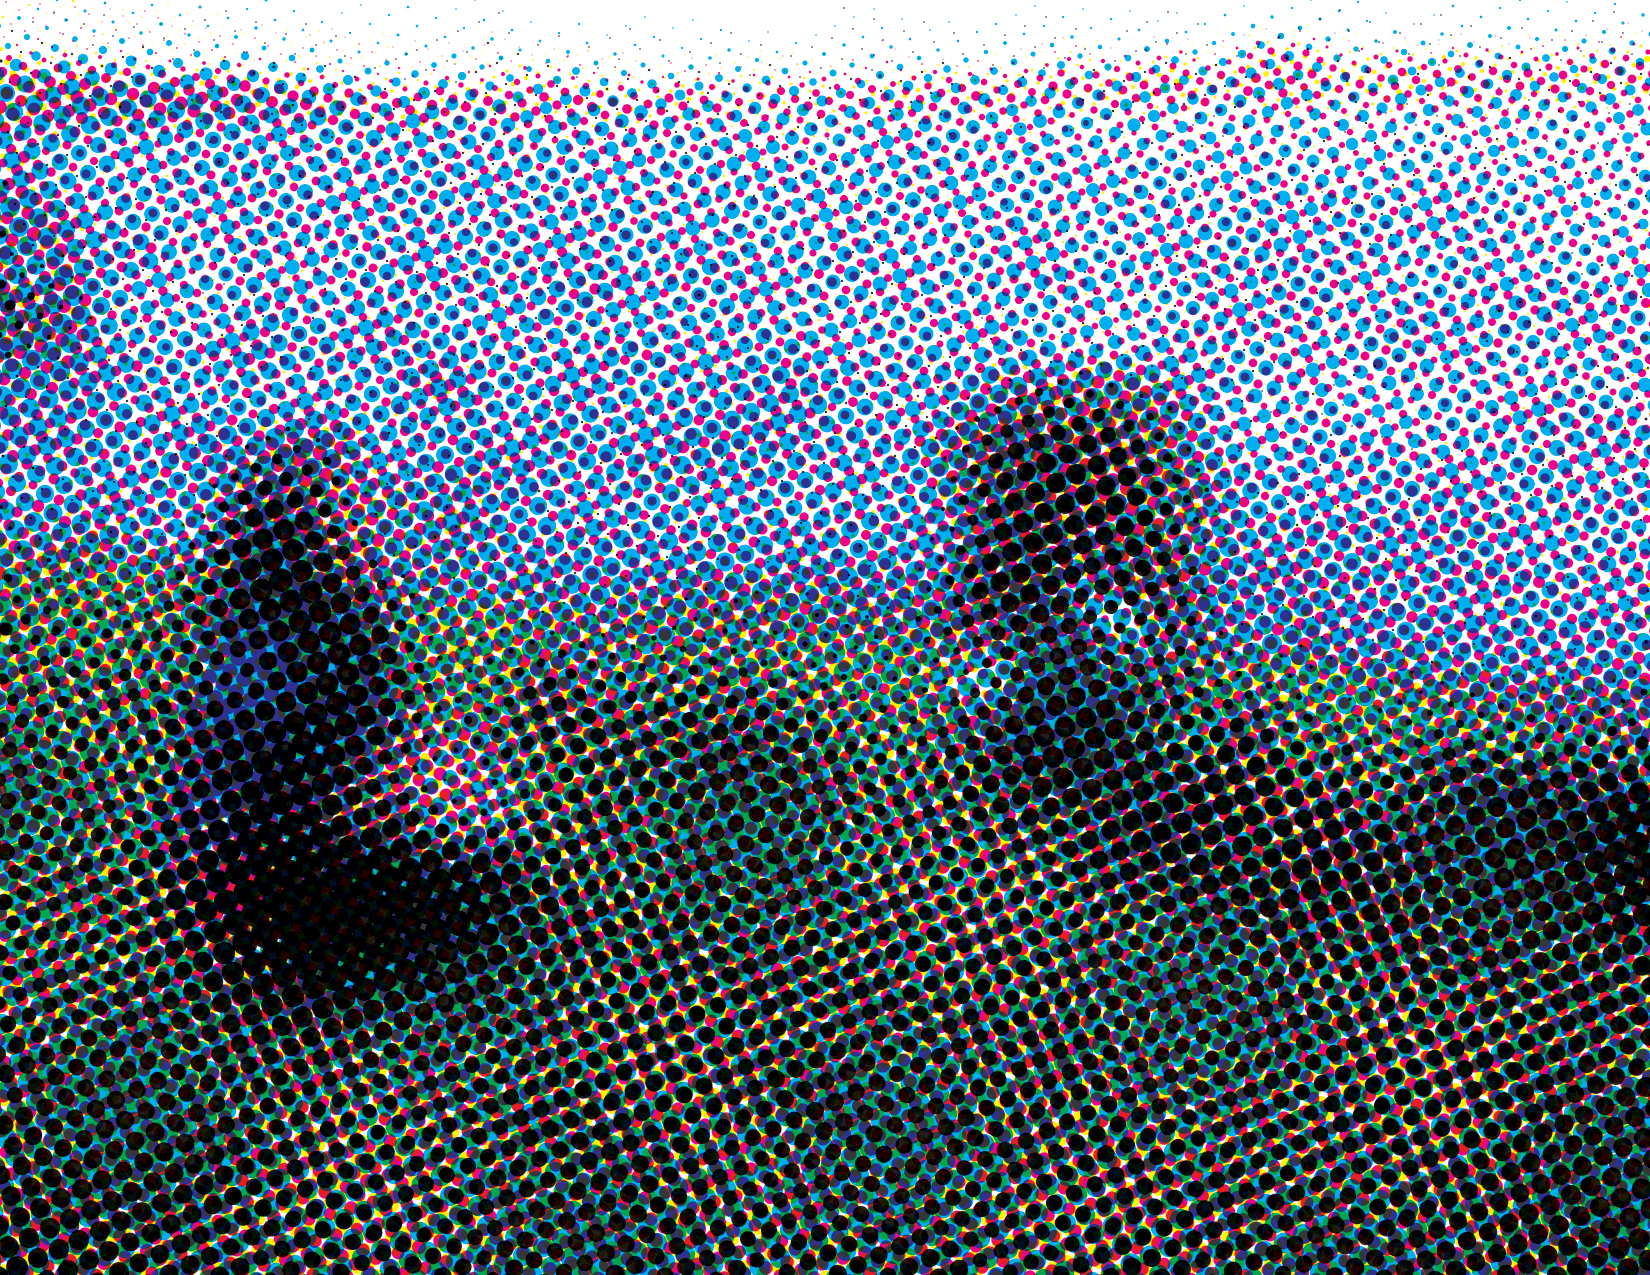
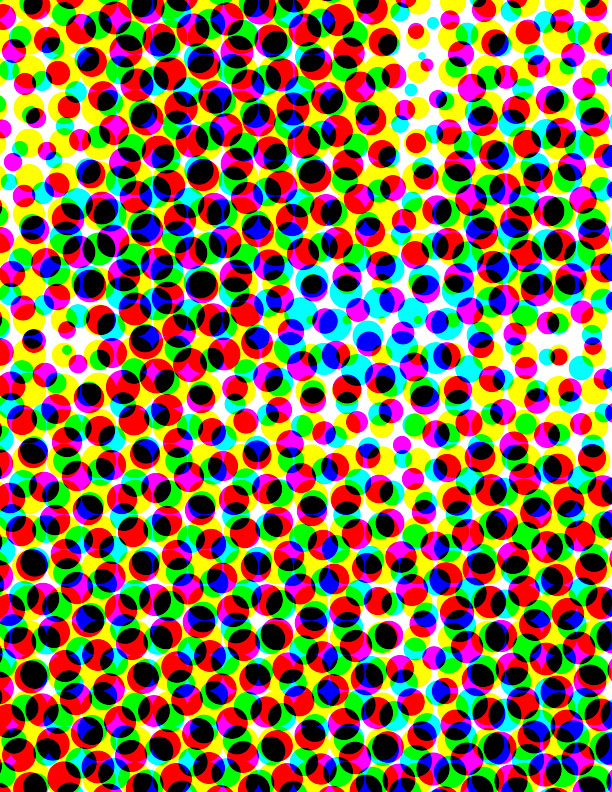
- Go to Filter > Pixelate > Color Halftone. The appropriate channel must be selected in the Channels Window. Be sure to play around with the settings to get different effects. The max radius is the max size of the dots. The screen angles are the orientations of the dot grids. Note that only the channel # corresponding to your color matters, so 1 = cyan, 2 = magenta, etc.
- Repeat the above steps for each channel (C,M,Y, and K).
- Print each half toned channel (C, M, Y, and K) separately onto transparency film. I recommend getting your transparencies printed at a local copy store. They will already have the transparencies on hand so there is no need for you to purchase any. BRING THESE PRINTS TO CLASS.
- Create another new Photoshop document of the same size (8.5″ x 11″ @ 150dpi).
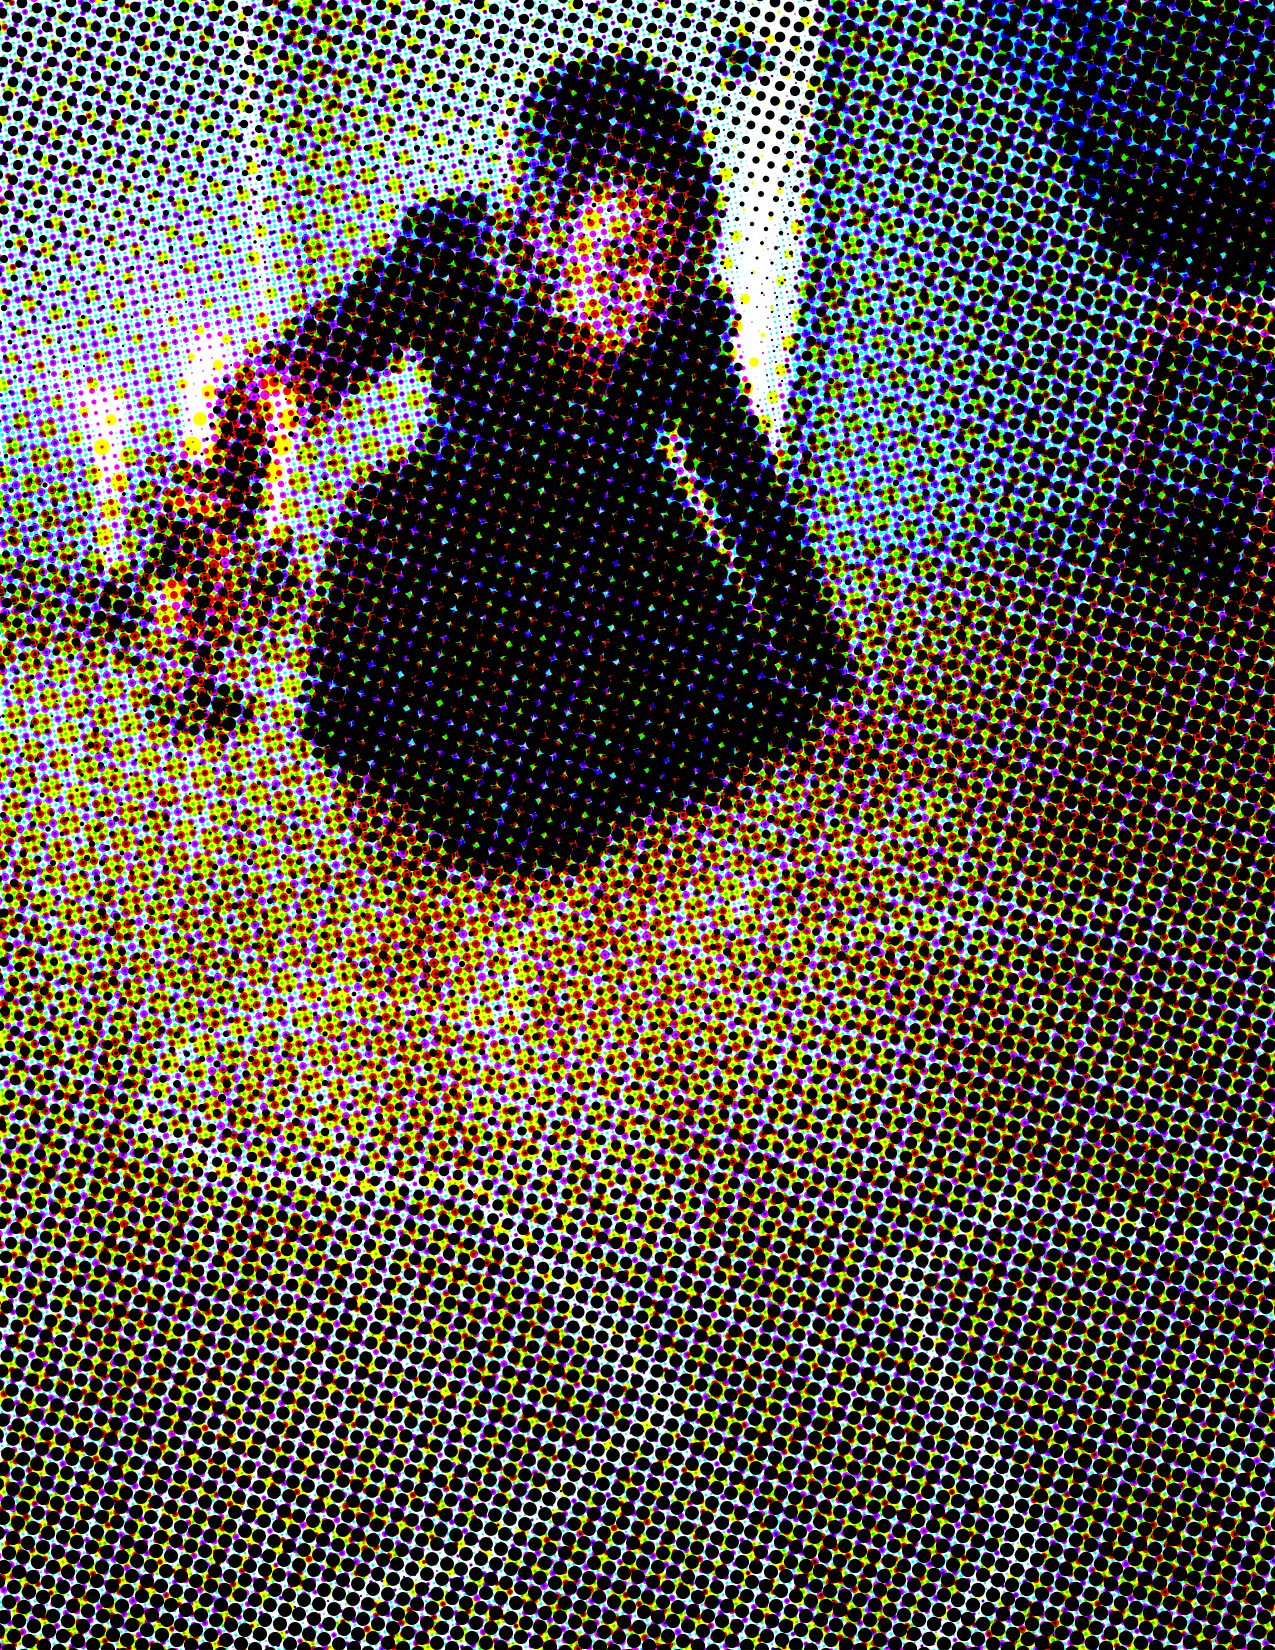
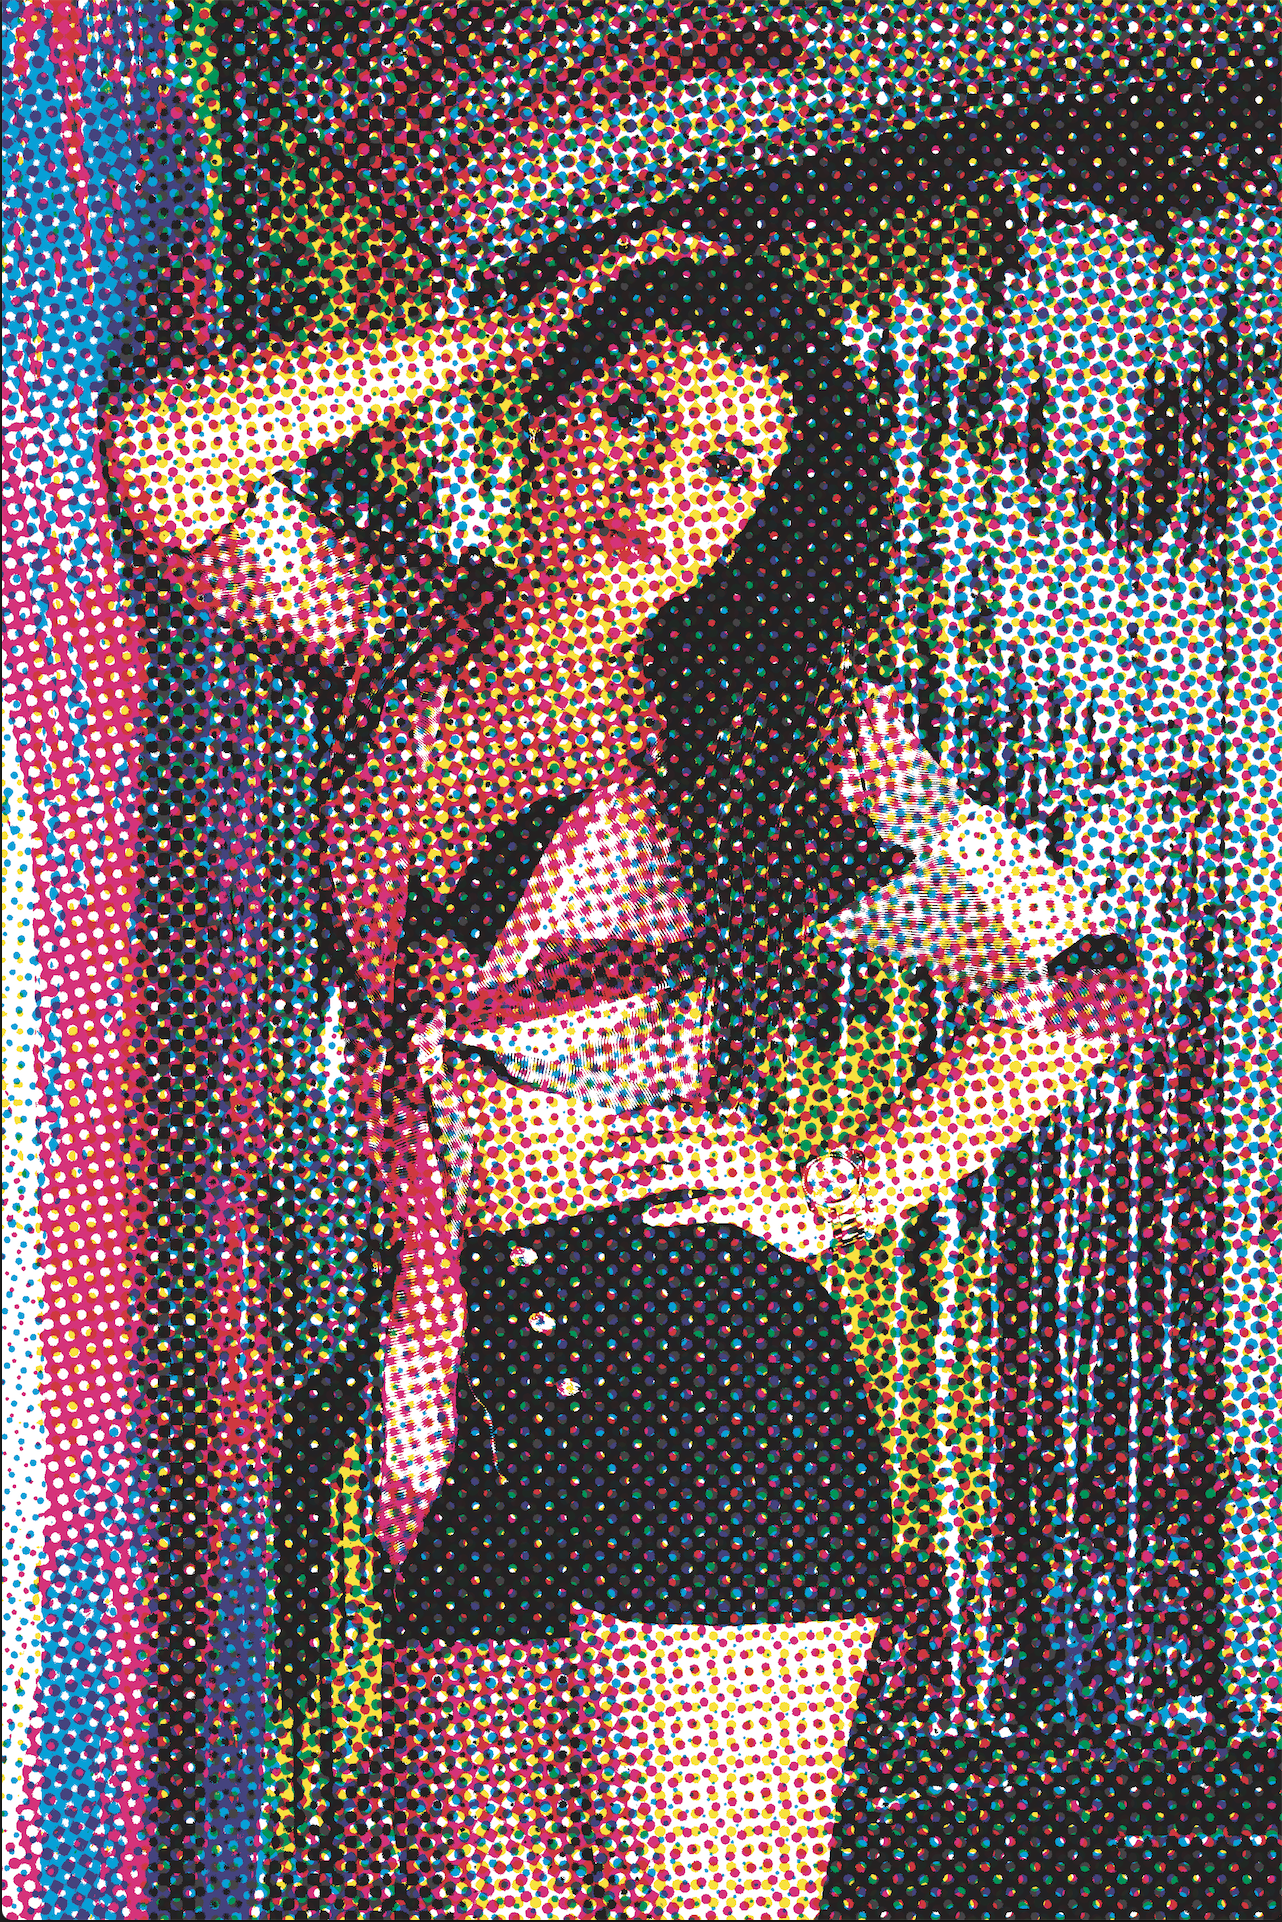
- Copy each of your halftone CMYK images and paste them into this new document. You may need to use the magic wand tool with contiguous deselected to delete the white from each of the layers.
- Save this new combined halftone image